Preventing PPF Edge Lift: A Practical Guide for Installers
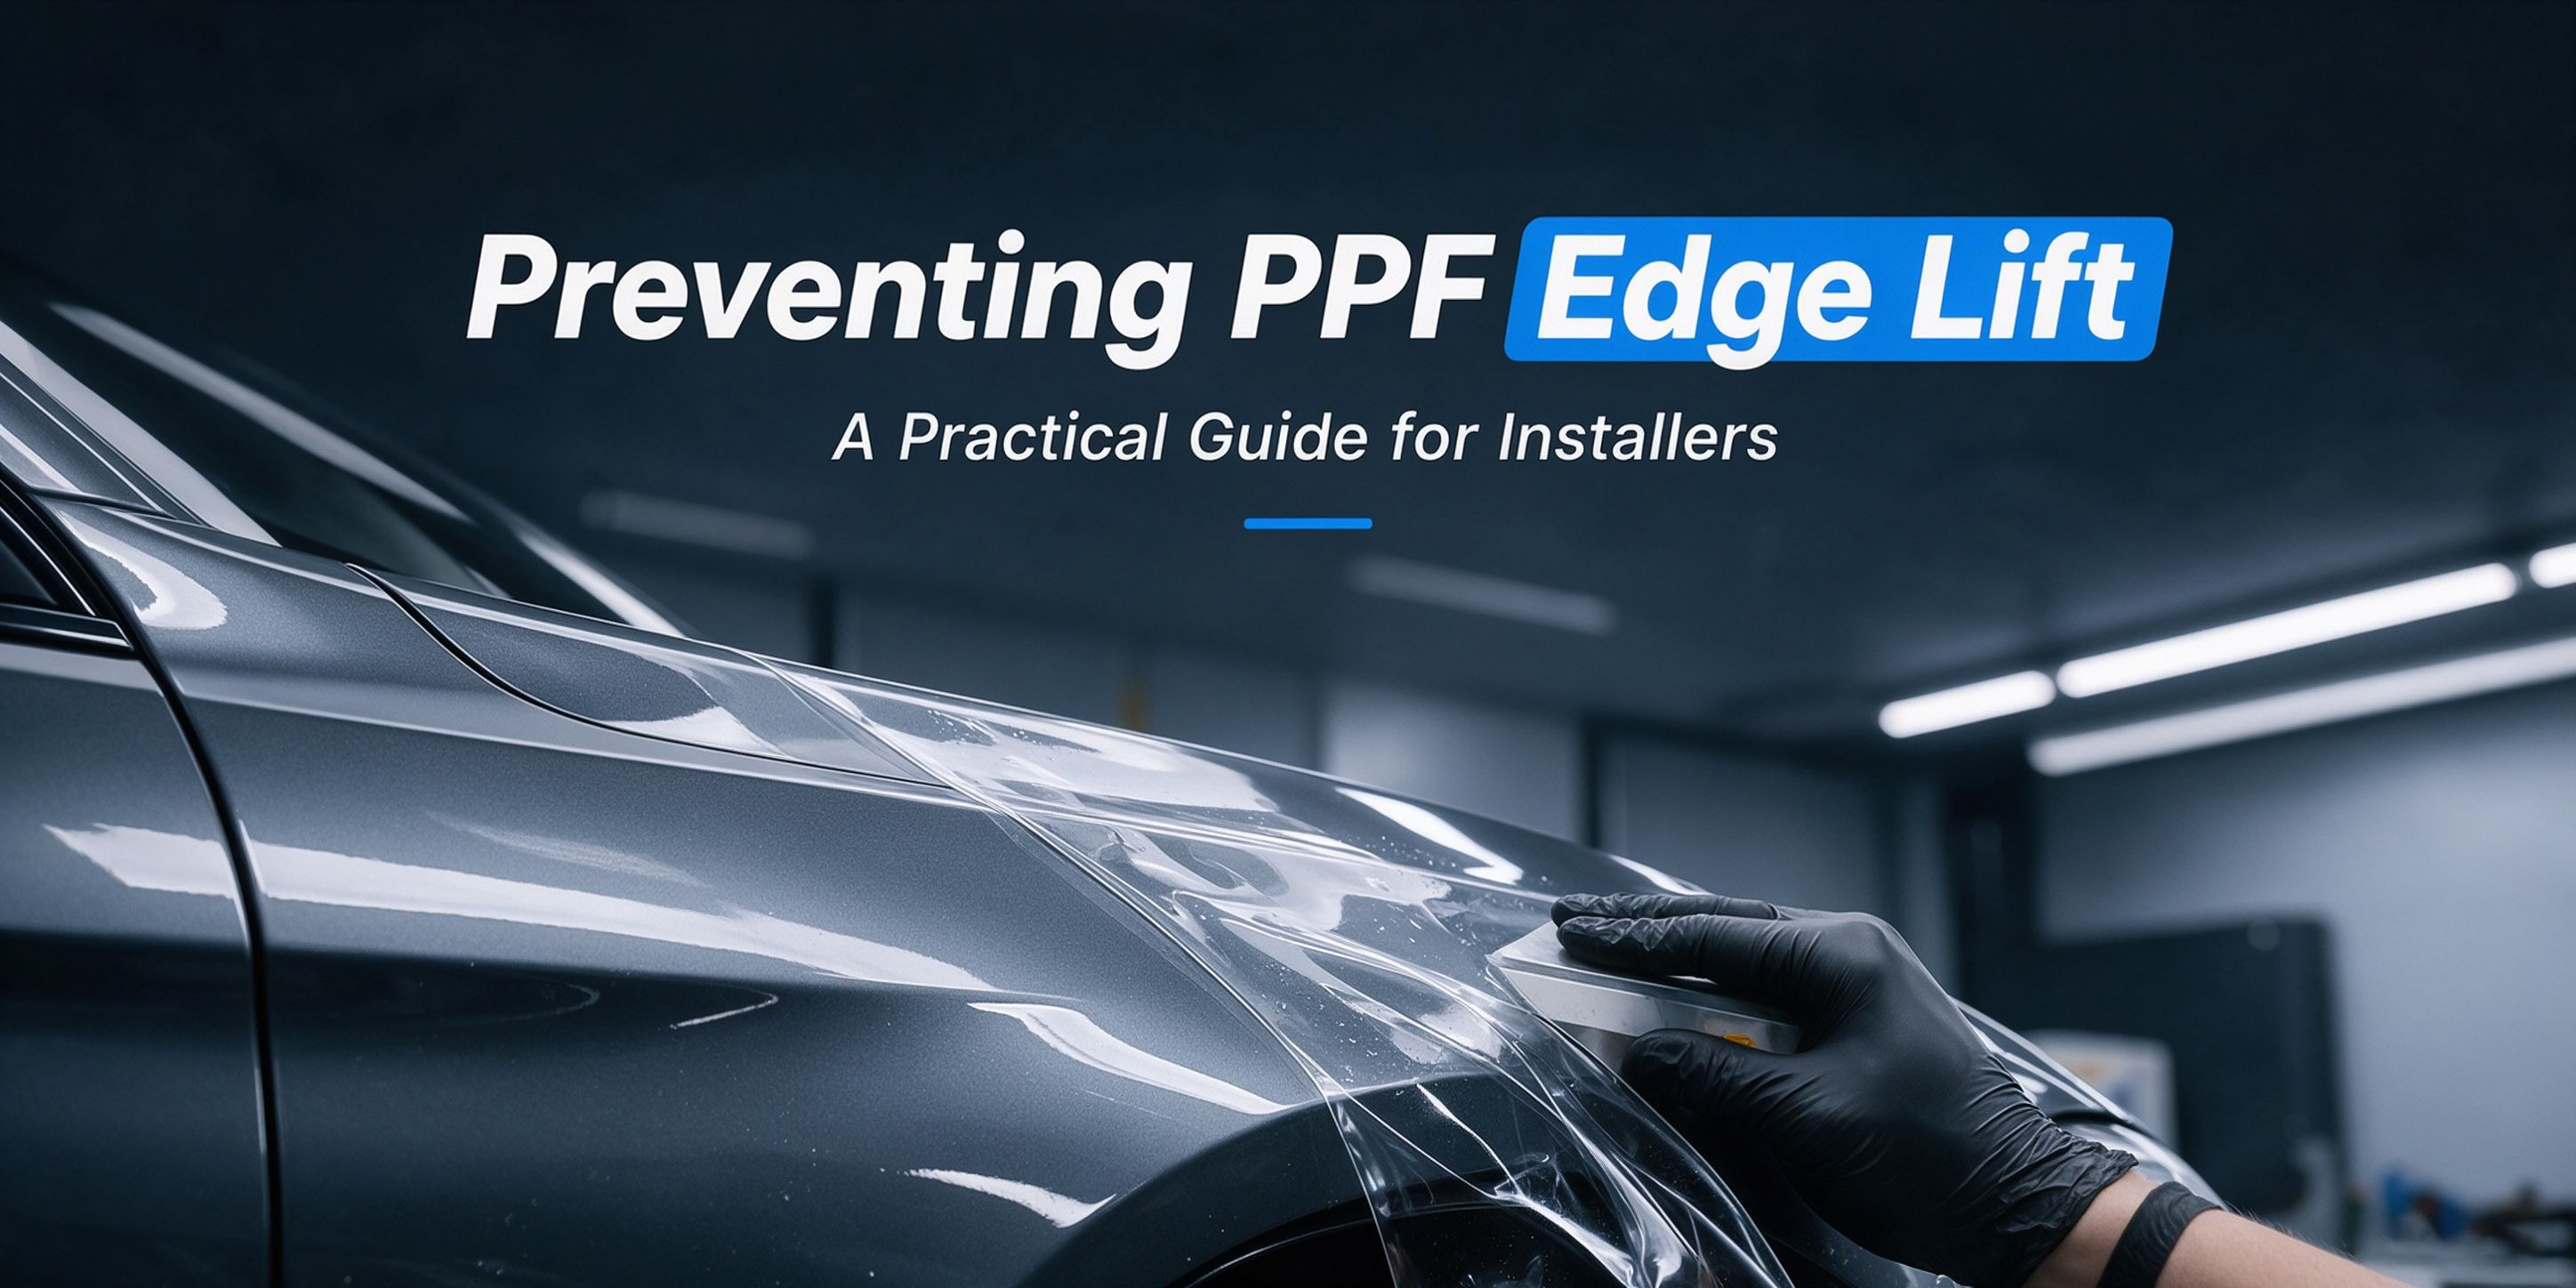
Paint Protection Film (PPF) is designed to protect vehicle paint while maintaining its original appearance. However, even a high-quality film can develop edge lifting if the installation process is not handled properly.
For professional installers, edge lifting is more than a cosmetic issue. It can allow dirt and moisture to collect beneath the film, affect the finished appearance, and lead to additional repair work.
The good news is that many common edge-lifting problems can be reduced through proper surface preparation, controlled film application, and careful inspection.
In this guide, we look at the common reasons PPF edges lift and share practical ways installers can prevent these issues.
1. Why Do PPF Edges Lift?
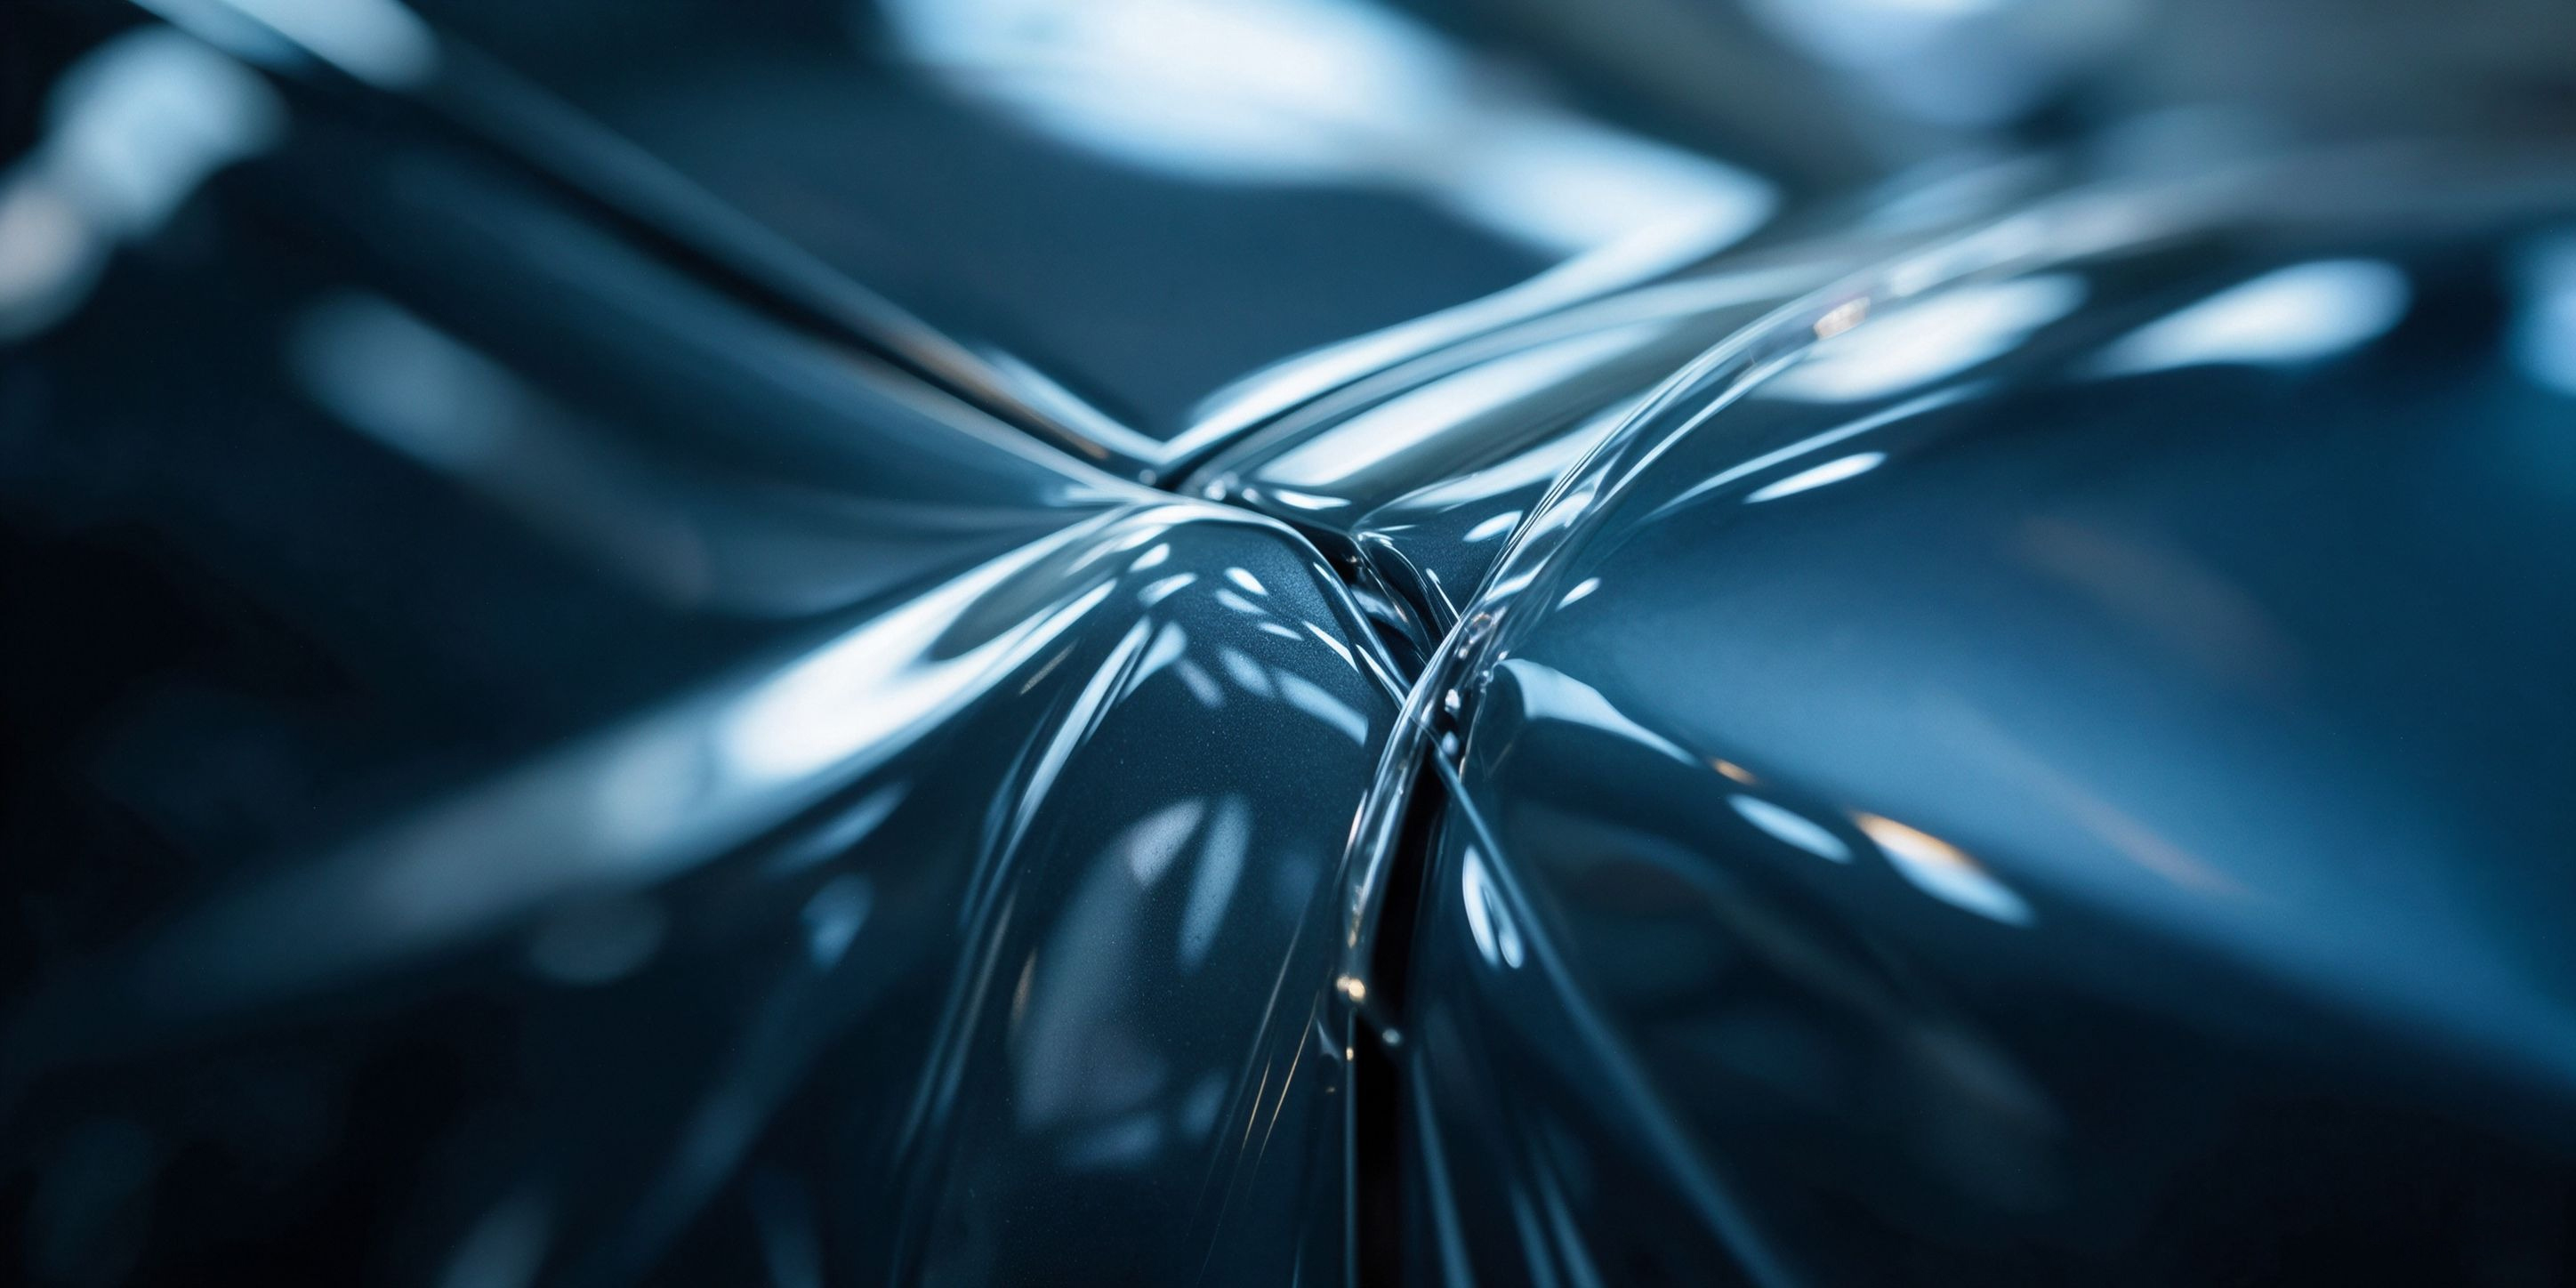
Edge lifting occurs when the film no longer maintains proper contact with the vehicle's painted surface along an edge or corner.
There is no single cause. In many cases, several installation factors contribute to the problem.
Surface Contamination
Oil, wax, dirt, polishing compounds, road residue, and other contaminants can interfere with adhesive contact.
Edges and panel gaps deserve particular attention because dirt and grease can remain in areas that are difficult to reach during normal washing.
If these areas are not properly cleaned and dried, the film may struggle to adhere securely.
Excess Installation Solution
PPF installation commonly uses slip solutions to help position the film. However, excessive solution or trapped moisture around the edges may interfere with proper adhesion.
The correct solution mixture depends on the film manufacturer's recommendations. Too much soap or an unsuitable solution can affect the film's positioning and bonding behavior.
Excessive Stretching
Curved surfaces, bumper corners, and recessed areas can make installation more challenging.
If the film is stretched too aggressively, it may retain tension after installation. This tension can place additional stress on edges and corners, increasing the risk of lifting.
Instead of forcing the film into position, installers should manage tension carefully and use appropriate positioning and anchoring techniques.
Incorrect Edge Positioning
Film edges located too close to complex curves or areas with insufficient contact can be more vulnerable to lifting.
An edge that extends beyond the intended bonding surface may also collect dirt and water over time.
The cutting pattern and wrapping method should therefore be considered before installation begins.
Environmental Conditions
Temperature and working conditions can affect film flexibility and adhesive behavior.
Installing in an excessively cold, hot, or dusty environment may make it more difficult to achieve consistent results.
Always follow the specific film manufacturer's recommended installation conditions rather than applying one temperature standard to every PPF product.
2. Prepare the Surface Before Applying PPF
Proper preparation is one of the most important steps in reducing edge-lifting problems.
Step 1: Thoroughly Clean the Vehicle
Wash the vehicle and remove dirt, grease, road film, and other surface contaminants.
Pay special attention to:
-
Panel edges and corners.
-
Areas around headlights and grilles.
-
Bumper openings and recessed sections.
-
Areas beneath the hood and around door edges.
-
Panel gaps where dirt may remain trapped.
Cleaning beyond the exact installation area can help prevent contaminants from entering the work area during installation.
Step 2: Remove Embedded Contaminants
After washing, inspect the paint surface carefully.
Where required, use an appropriate detailing clay or other manufacturer-approved preparation method to remove embedded contaminants.
Make sure the vehicle is rinsed and dried properly before continuing.
Step 3: Clean the Bonding Areas
The edges where the film will be applied need special attention.
Use a suitable, film-compatible cleaning method to remove remaining oils and residues. Wipe the area dry with clean, lint-free materials before applying the film.
Do not assume that every cleaning chemical is suitable for every film or painted surface. Follow the product manufacturer's preparation instructions.
Step 4: Inspect the Paint and Existing Coatings
Check the vehicle for:
-
Loose or damaged paint.
-
Previous repairs or repainting.
-
Existing wax or paint sealant.
-
Ceramic coatings or other surface treatments.
-
Deep scratches or surface defects.
Some coatings may need to be removed before PPF installation. If paint correction or coating removal is required, have it assessed by a qualified detailing or paint-care professional.
3. Control Film Tension During Installation
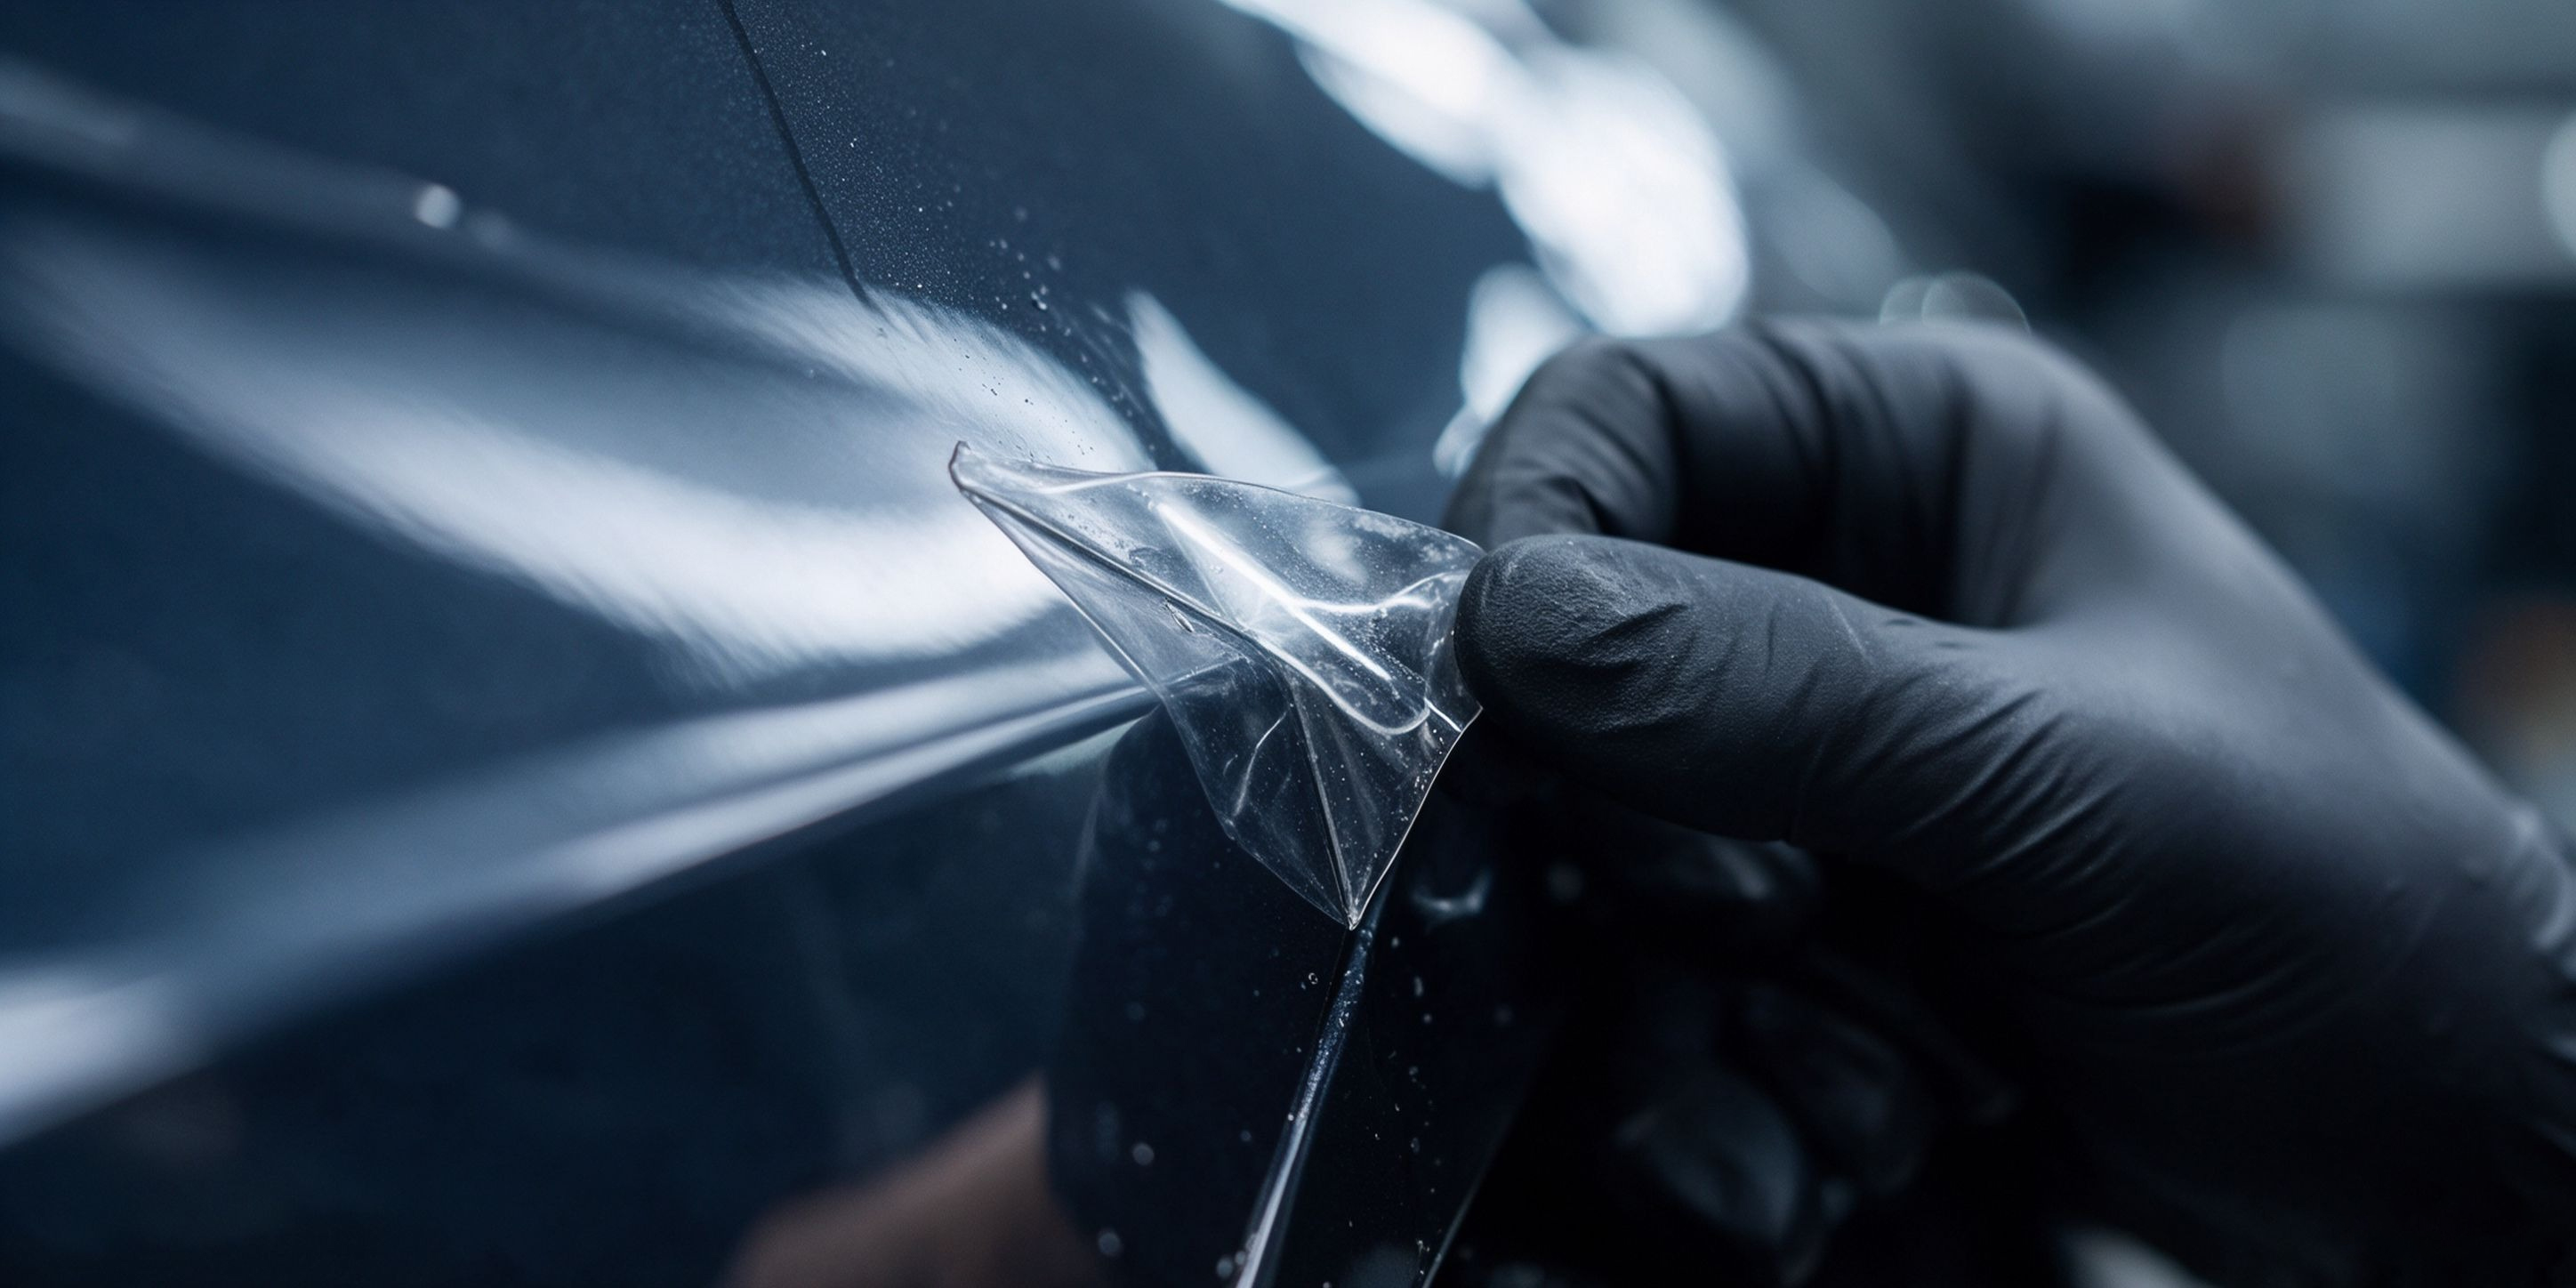
Even when the surface is clean, poor film positioning can create unnecessary stress around edges.
Start with Proper Alignment
Position the film carefully before fixing the main anchor points.
Check the available coverage around corners, panel edges, and complex contours. Make sure there is sufficient material for the selected cutting and wrapping method.
Avoid Excessive Stretching
Stretching may be necessary to work around certain vehicle contours, but excessive tension should be avoided.
A practical approach is to:
-
Establish stable anchor points.
-
Distribute tension across the panel.
-
Use controlled, gradual stretching where needed.
-
Avoid forcing the film around sharp or complex curves.
-
Pay particular attention to bumpers, recessed areas, and sensor openings.
If the film forms persistent fingers or tension lines, reassess its position instead of simply forcing the material down.
Use Slip and Tack Solutions Correctly
Slip solution helps installers position the film, while tack solution may be used to secure selected areas.
The correct application depends on the particular PPF adhesive system.
For better results:
-
Follow the manufacturer's solution recommendations.
-
Avoid excessive soap or other additives.
-
Keep the installation area clean.
-
Remove excess solution from areas that need to bond.
-
Make sure the edges are not left with trapped moisture.
Different PPF products can require different solution mixtures and application techniques. Do not assume that one recipe works for every film.
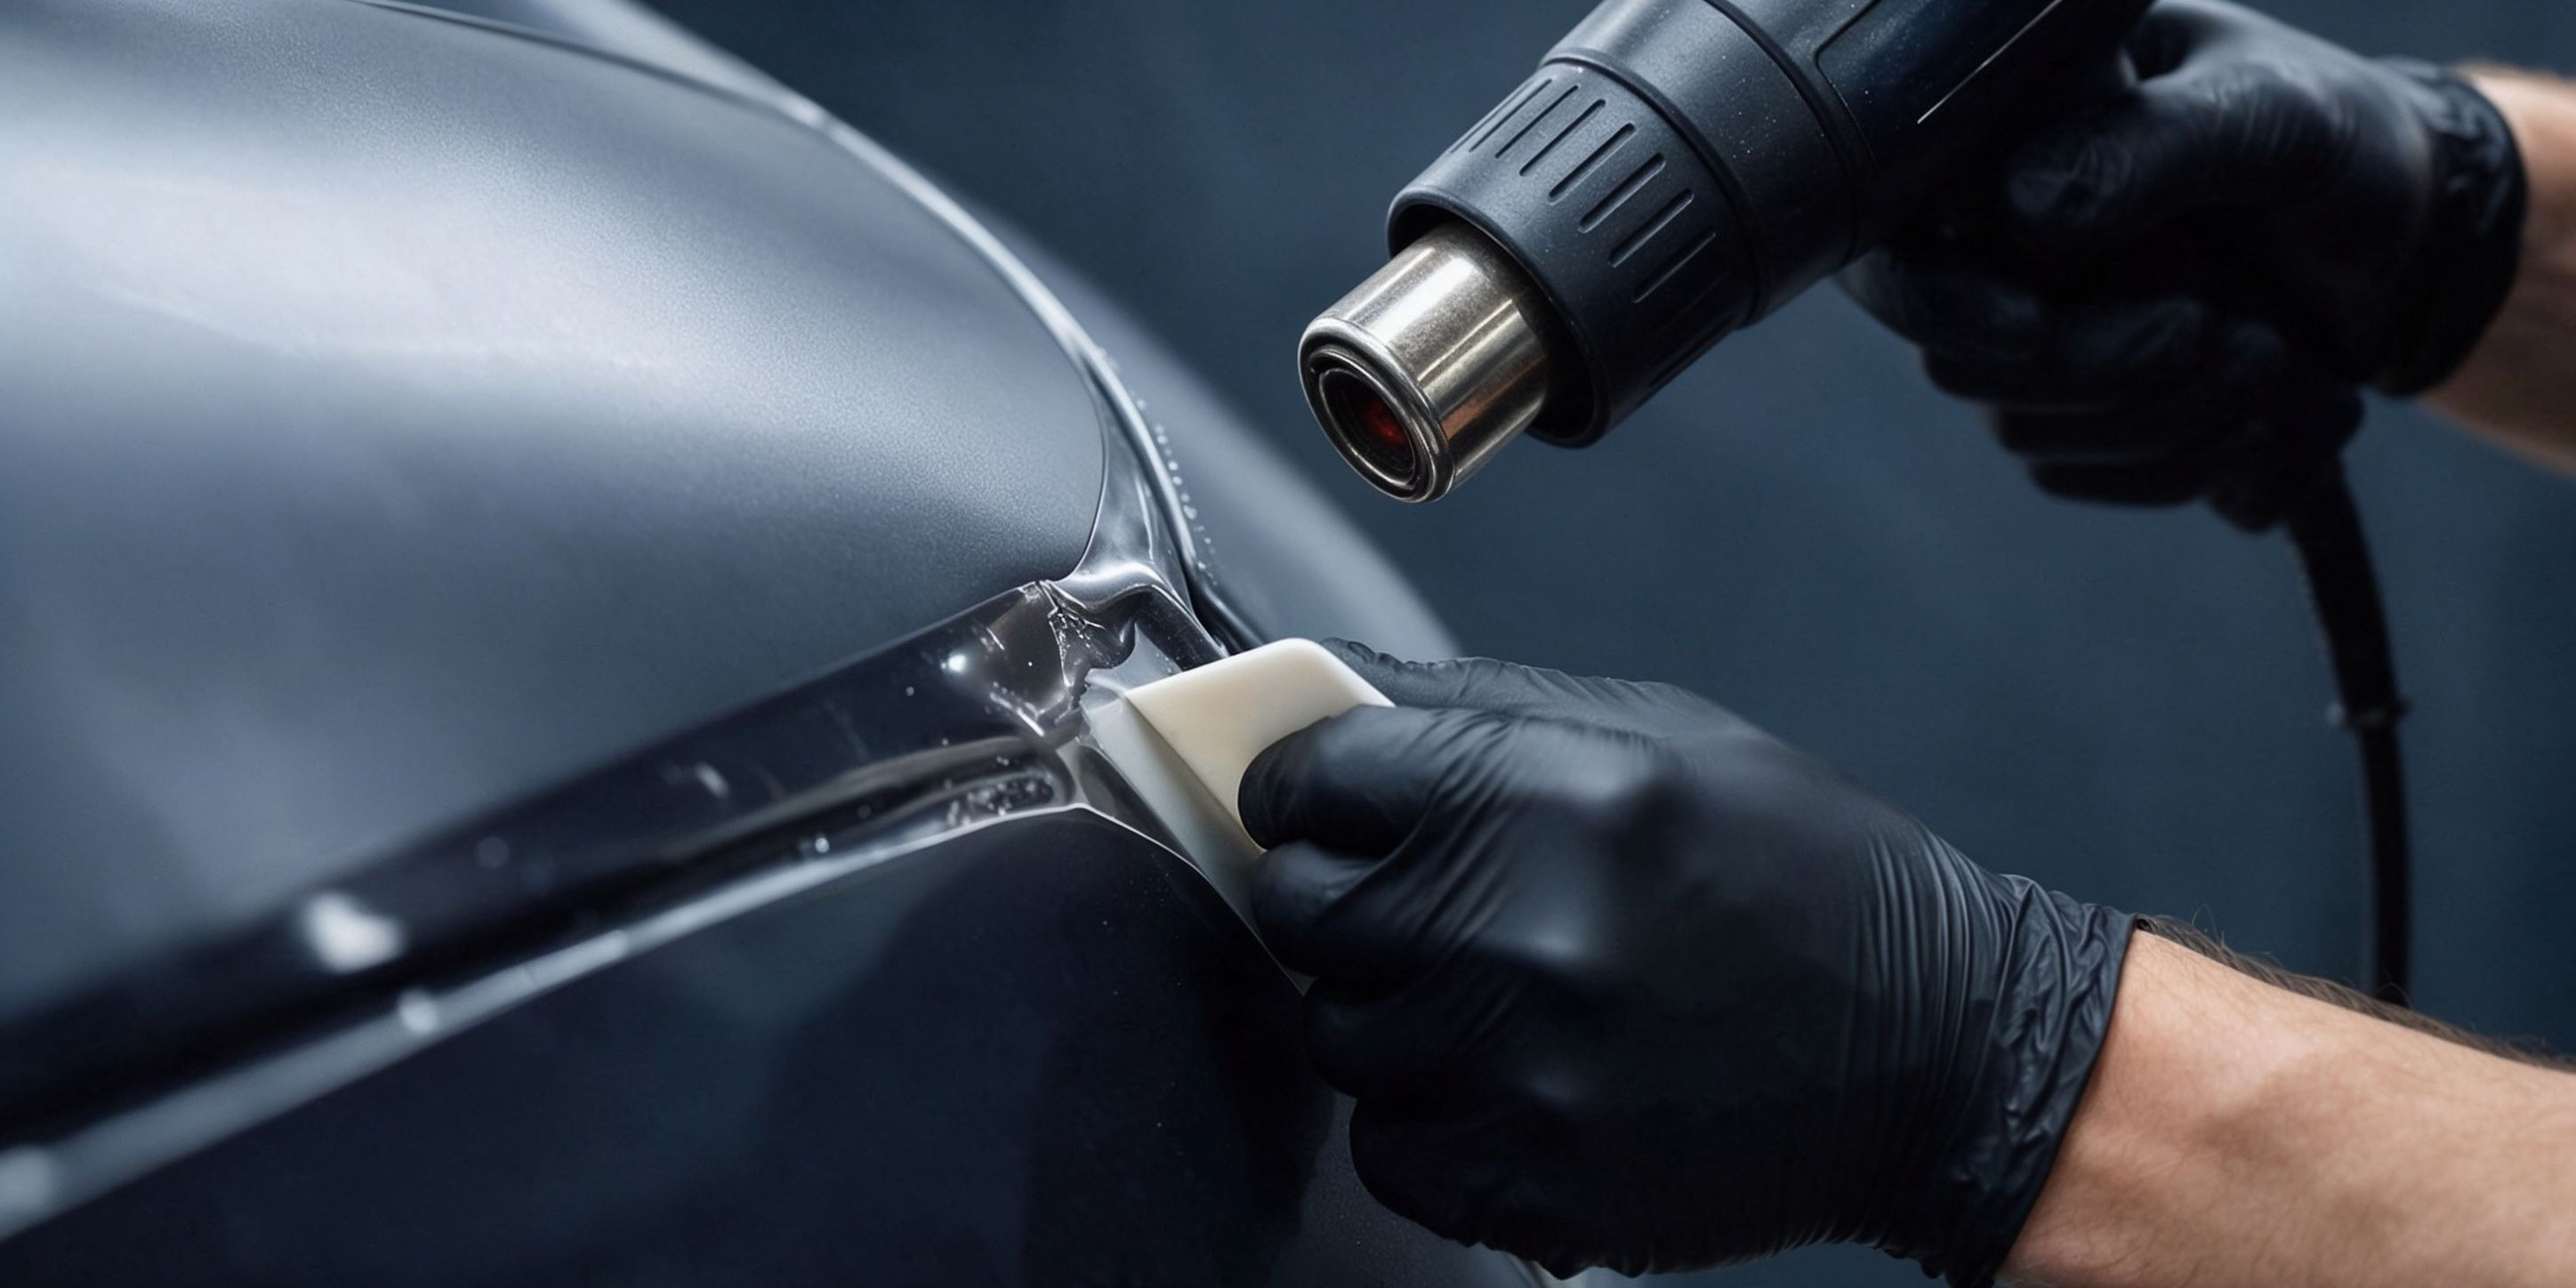
4. Pay Special Attention to Edges and Curved Areas
Edges are often the most sensitive areas during PPF installation.
Choose the Right Edge Position
Whenever the vehicle design and cutting pattern allow it, place the film edge on a suitable, stable bonding surface.
Avoid leaving an unnecessary overhang or positioning the edge directly on a difficult transition.
For patterns that are not designed for edge wrapping, follow the pattern and manufacturer's placement instructions rather than stretching the film beyond its intended coverage.
Prepare Wrapped Edges Carefully
When the installation design includes wrapping around a panel edge, prepare the hidden bonding area carefully.
Make sure the surface is clean, dry, and free from oil or residue before securing the film.
Do not apply an adhesion promoter or primer automatically. Only use it when the film manufacturer recommends it for that product and application.
Secure the Film Without Overheating
Heat may be used during some PPF installations to help the film conform to complex areas or to assist with edge drying.
However, heating requirements vary by product.
Use the recommended temperature and technique for the specific film. Excessive heat can damage the film or affect its appearance.
The goal is controlled application and secure bonding, not simply applying more heat whenever an edge does not stay down.
5. Inspect Every Edge Before Returning the Vehicle
A finished installation should not be judged only by how the main panels look.
Take time to inspect the edges and difficult areas before the vehicle is returned to the customer.
Check the following:
1. Edge Contact
Look for sections that are lifting, curling, or not lying flat against the panel.
2. Trapped Moisture
Check for visible water pockets or moisture near edges and corners.
3. Contamination
Look for dust, fibers, or other particles that may have entered the adhesive area.
4. Film Tension
Inspect corners and curved sections for signs of excessive stretching or persistent tension.
5. Film Position
Make sure the edges follow the intended cutting pattern and do not create unnecessary exposed overhangs.
6. Final Drying and Setting
Allow the film to settle according to the manufacturer's instructions. Recheck sensitive edges before vehicle delivery.
A careful final inspection helps installers identify potential issues before they become customer complaints.
6. What Should You Do If an Edge Starts Lifting?
If an edge begins to lift, do not immediately assume that applying more heat or pressing it down will solve the problem.
First, identify the likely cause.
| Possible Problem | What to Check |
|---|---|
| Oil or surface contamination | Recheck the bonding area and cleaning process |
| Trapped installation solution | Check whether moisture remains near the edge |
| Excessive film tension | Reassess film positioning and stretching |
| Poor edge placement | Check the cutting pattern and available bonding surface |
| Unsuitable installation conditions | Review temperature and environmental conditions |
| Film or adhesive damage | Inspect the material and consult the supplier |
The correction should depend on the actual cause and the manufacturer's repair instructions.
If contamination has affected the adhesive or the film has been damaged, simply pressing the edge down may not provide a reliable repair. The affected section may need to be lifted and reapplied correctly or replaced.
For recurring edge-lifting issues, record the affected vehicle area, film model, installation conditions, and corrective action. This can help the shop identify patterns and improve its installation process.
7. Explain Proper Aftercare to Customers
Installation quality also depends on what happens after the vehicle leaves the shop.
Give customers clear aftercare instructions, including:
-
Wait for the period specified by the film manufacturer before washing the vehicle.
-
Avoid directing high-pressure water at film edges.
-
Use appropriate car-washing methods and products.
-
Check the film edges periodically.
-
Contact the installation shop if lifting or unusual changes appear.
High-pressure washing too close to a film edge can force water underneath the film and contribute to lifting. Customers should understand that careful washing is part of maintaining the installation.
The recommended waiting period and pressure-washing precautions vary by manufacturer and film model. Provide instructions that match the product actually installed.
8. Final Thoughts: Consistency Matters More Than Quick Fixes
Preventing PPF edge lifting is not about relying on one special tool or one extra step.
It requires a consistent installation process:
-
Prepare the surface thoroughly.
-
Keep bonding areas clean and dry.
-
Control film tension.
-
Follow the correct installation-solution recommendations.
-
Position edges carefully.
-
Inspect the finished installation.
-
Provide clear aftercare guidance.
For professional installers, following the film manufacturer's technical instructions and developing a repeatable installation routine are essential parts of delivering reliable results.
At AICI, we supply automotive film products including TPU paint protection film and TPU Color PPF. If you are looking for product specifications or wholesale cooperation, contact our team to discuss the available options for your market.
Frequently Asked Questions
Q1: What is the most common reason PPF edges lift?
There is no single cause. Surface contamination, trapped installation solution, excessive film tension, unsuitable edge positioning, and environmental conditions can all contribute to edge lifting.
Q2: Can excessive stretching cause PPF edge lifting?
Yes. Excessive stretching can create tension around corners and complex contours. Installers should use controlled positioning and follow the film manufacturer's stretching recommendations.
Q3: Should installers use heat to fix every lifting edge?
No. Heat requirements depend on the film and the cause of the problem. Excessive heat may damage the material. Identify the cause first and follow the manufacturer's repair instructions.
Q4: How should PPF edges be cleaned before installation?
Remove dirt, oil, wax, and other contaminants using a compatible cleaning method. Pay particular attention to hidden and wrapped areas, and make sure the bonding surface is dry before applying the film.
Q5: Can pressure washing cause PPF edges to lift?
Yes. Directing high-pressure water too close to the film edge can force water underneath the film and weaken adhesion. Follow the film manufacturer's washing recommendations.
Q6: How long should customers wait before washing a newly wrapped vehicle?
The waiting period depends on the film and installation system. Customers should follow the specific aftercare instructions provided by the film manufacturer and installer.
How to Maintain Glossy and Matte PPF: A Guide for Car Care Shops
Glossy vs. Satin Color PPF: Key Differences